- "Viewport" allows you to capture and share specific objects or scenes from certain angles.
Steps to Create a Viewport:
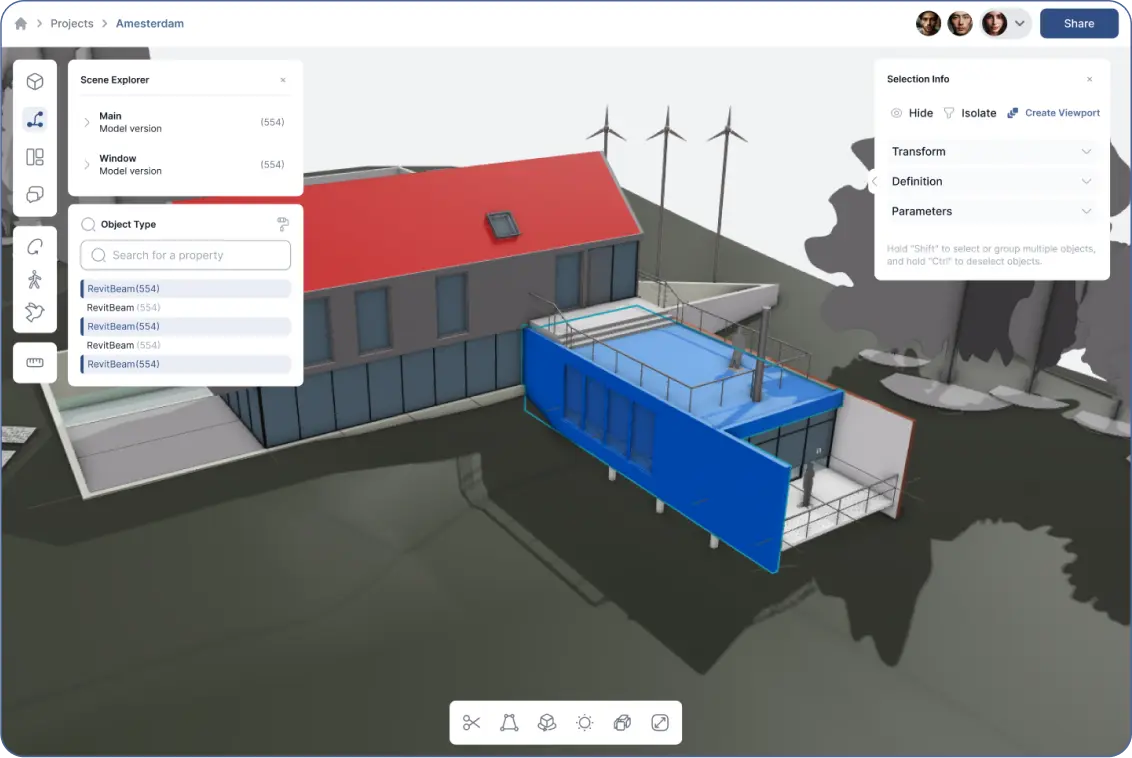
- In the Scene Explorer, select your objects.
- Inside the “Selection Info” window, click “Create Viewport”.
- This creates a viewport of the selected objects from the current viewing angle.
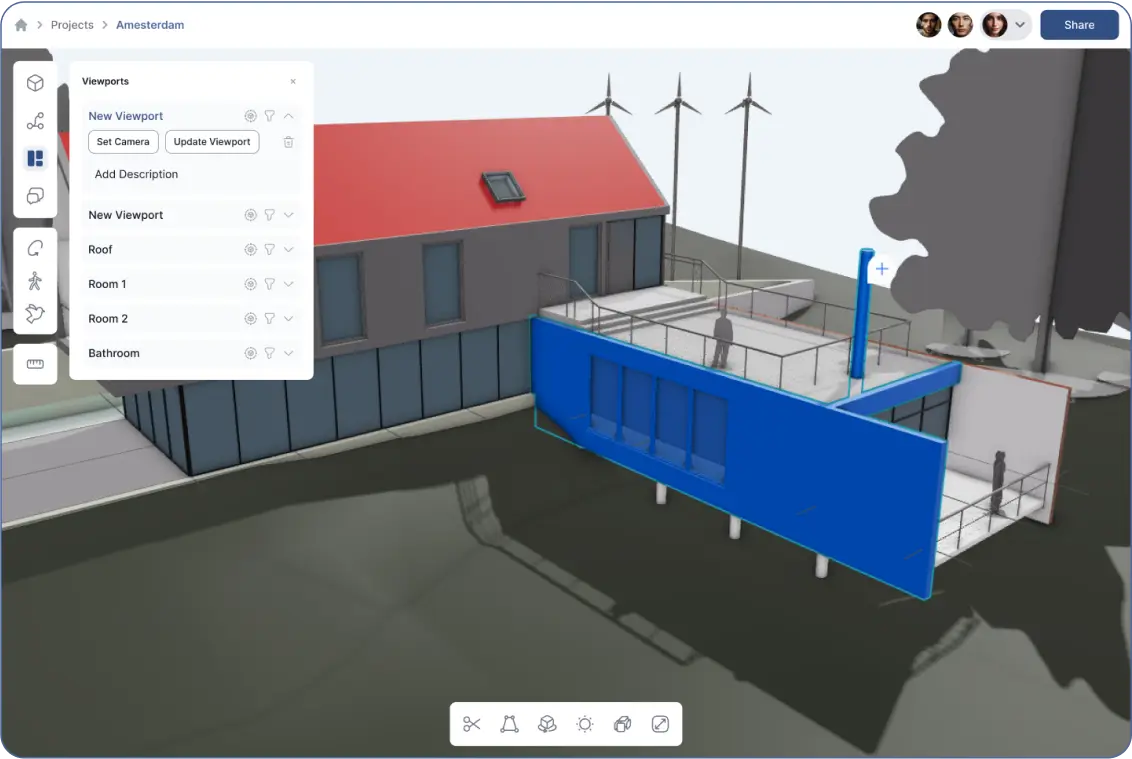
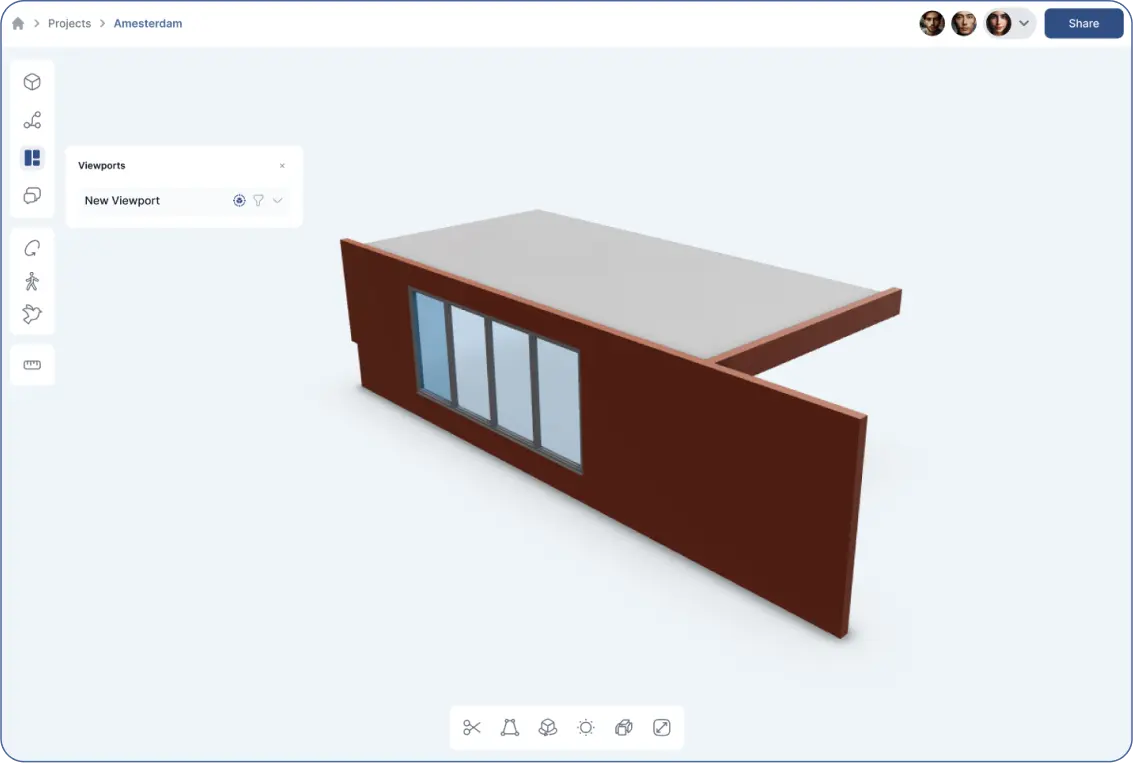
Accessing and Managing Viewports:
- Click the third icon on the left toolbar (the “Viewport” icon).
- Viewports are stored here.
- You can:
- “Add Description” to the viewport.
- “Update” it later.
- Click “Set Camera” to adjust the angle and create more viewports.
- You can also create more viewports directly from the Scene Explorer.
Buttons for Each Viewport:
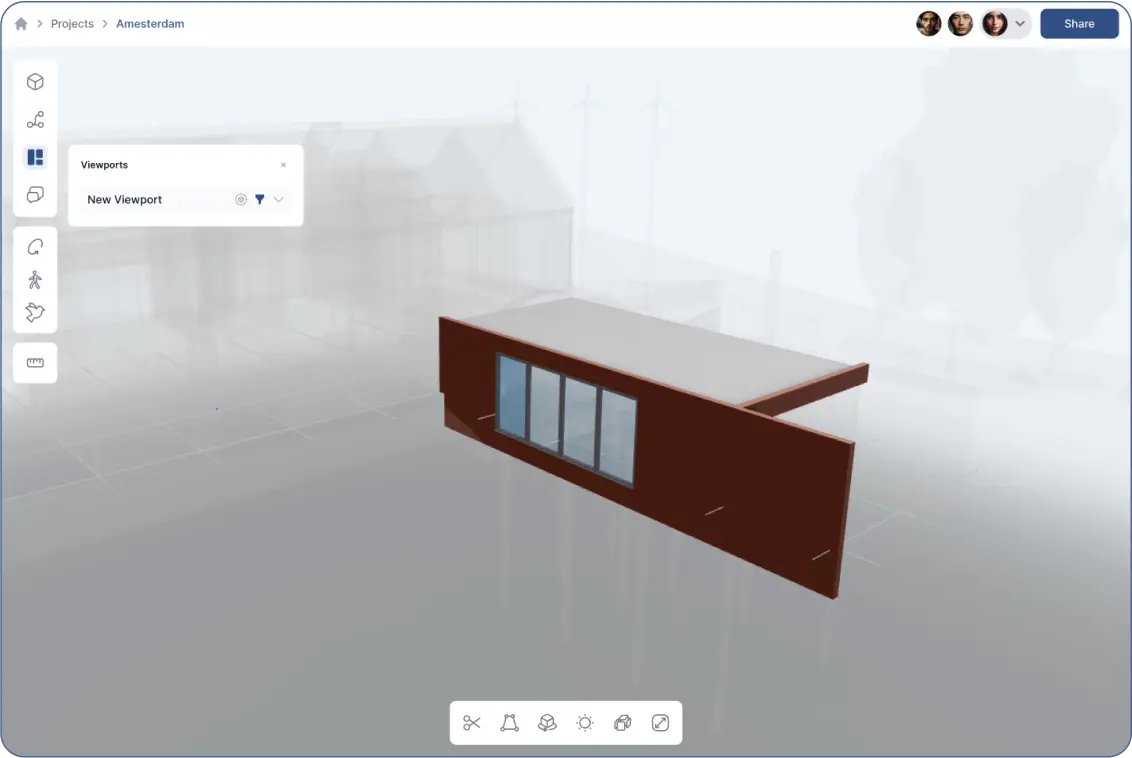
- “Isolate”:
- Blurs out the rest of the model.
- Keeps the selected viewport clear.
Buttons for Each Viewport:
- “Hide”:
- Hides the rest of the model.
- Leaves only the viewport visible.
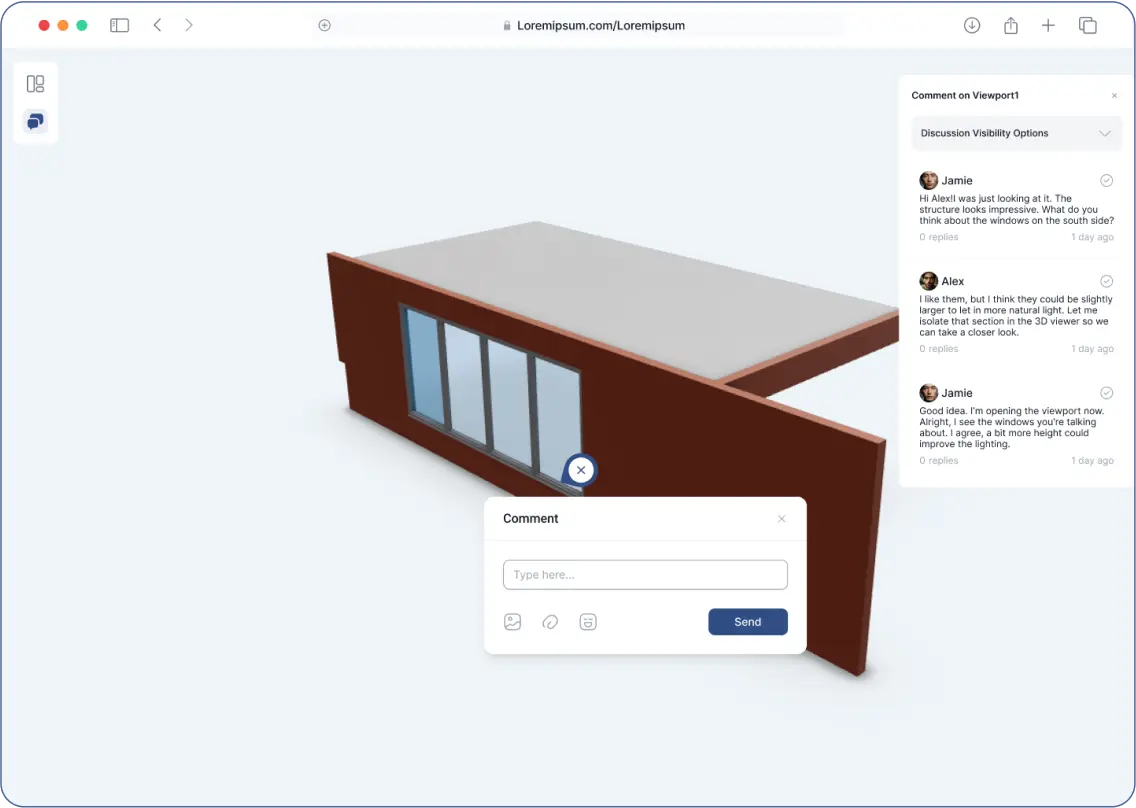
Sharing a Viewport:
- Use the “Share” button at the far right corner of the upper toolbar.

- Others can see the “Description” you've added.
- They can comment and begin discussions around the viewport.
- Viewports can be shared and viewed by others without them needing login credentials.