
Step-by-step guide for using the Archicad plugin:
Supported Versions: GeoVision currently supports Archicad versions: 27 & 28.
Note: The Archicad plugin works on Windows only.
Setup
1. Install the Plugin
Install the GeoVision Archicad Plugin if you haven’t already. (See Installing Plugins for help.)
2. Open the Archicad Plugin
- In Archicad, go to the GeoVision tab in the menu.
- Click GeoVision to open the Archicad plugin.
- If you’re not signed in, select Sign in and link your GeoVision account.
Publishing a Model
1. Select Publish
Click Publish in the GeoVision plugin interface.
2. Choose a Project
- Select an existing project. or
- Click New Project to create a new one
3. Choose a Model
- Select an existing model. or
- Click New Model to create one.
4. Select Objects to Publish
In the Archicad viewport:
- Select the elements you want to publish.
- Click Publish.
Your model is now uploaded to GeoVision and available to your team for viewing and collaboration.
Loading a Model
1. Select Load
In the GeoVision plugin, click the Load button.
2. Choose a Project
Select the project that contains the model you want to load.
3. Choose a Model
Select the model you’d like to load into your Archicad session.
4. Choose a Version to Load
- By default, the latest version appears first.
- If you want to load a previous version, select it from the version list.
Your selected model is now successfully loaded into Archicad.
Important Notes on Archicad Publishing:
Supported Archicad Elements for Publishing:
You can publish all 3D elements from Archicad that include mesh geometry. These include:
- Wall, slab, beam, column
- Door, window, curtain wall, skylight, object
- Roof, shell, morph, mesh
- Stair, railing
Note: Only elements visible in the 3D view will be published.
Publishing Models from Archicad Views:
To publish models based on a specific Archicad view:
- While publishing a new version, set the Filter setting to Views.
- Select the desired view you want to publish from.
This allows you to filter and publish only the elements visible in that particular view.
Publishing Models by Archicad Element Type:
To publish models based on Archicad element types:
- While publishing a new version, set the Filter setting to Element Types.
- Select the element types you’d like to include in the publish.
This allows you to control exactly which types of elements are included in the model version.
Viewing Custom Properties on Published Archicad Elements:
When you select and view an Archicad object in your browser, all custom properties appear under the properties field. These properties vary based on the element type and may include:
- Element ID, element type, element name, level
- Classifications
- Dimensional properties
- Material quantities
- User-defined properties
- IFC properties
Note: For IFC properties, the export depends on the property mapping of the default IFC translator.
Speeding Up Model Publishing in Archicad:
If publishing your model takes too long, you can speed up the process by disabling property extraction, especially if you don’t need element properties.
To do this:
- Open the Send Settings.
- Turn off the Include Object Properties option.
Note: Disabling property extraction can significantly reduce publishing time.
What Doesn’t Get Published with the Archicad Plugin?
When using the Archicad plugin, the following items are not published to GeoVision:
- 2D documentation: floor plans, sections, elevations
- 2D elements: lines, hatches, dimensions
- Surface textures
Excluded Element Properties in the Archicad Plugin:
To optimize performance and avoid redundant data, some built-in properties under Element Properties > Dimensional Properties are not published when using the Archicad plugin. This also helps speed up the publishing process.
Fixing Incorrect Colors in the Web Viewer:
If your model appears with the wrong colors in the browser:
- Open the model in the viewer.
- In the sidebar, click the View Modes button.
- Change the view mode to Shaded to display the correct colors.
Missing Objects after Publishing a Model:
After publishing your model to GeoVision, click the Report button to view any errors that may have occurred. Click on any item in the report to highlight it in your application. Some objects might not be supported for publishing and could be excluded automatically.
Important Notes on Archicad Loading:
Loading Models into Archicad from GeoVision:
All objects in GeoVision models are loaded as GDL objects (generic models) in Archicad. If your model contains block instances, each instance will be loaded as its own generic model. Each object will be loaded with:
- Render material (if any)
- Mesh geometry
Note: The loaded GDL objects are organized in folders in Archicad’s embedded library. The folder name is: ‘Project Name – Model Name’.
Floor Plan Display of Loaded GDL Objects in Archicad:
Currently, the 2D script of the GDL objects in Archicad display only cut lines at the floor plan cut plane for each level. Projection lines are not shown.
Loading Custom Properties in Archicad:
Currently, you cannot load any custom properties from your GeoVision model objects into Archicad.
Incorrect Model Position After Loading:
If you’re loading models published from Revit into Archicad, ask the author of the model to publish again using the correct reference point from their Revit file.
Missing Objects After Loading a GeoVision Model:
After loading a GeoVision model, use the Report button to check for any errors that occurred during loading. Clicking an item in the report will highlight it in your application. Note that some objects may not be supported for loading in Archicad.
Project Selection Disabled in the UI:
This occurs because you don’t have the necessary permissions to load the project. Please contact the project owner to request a role change.
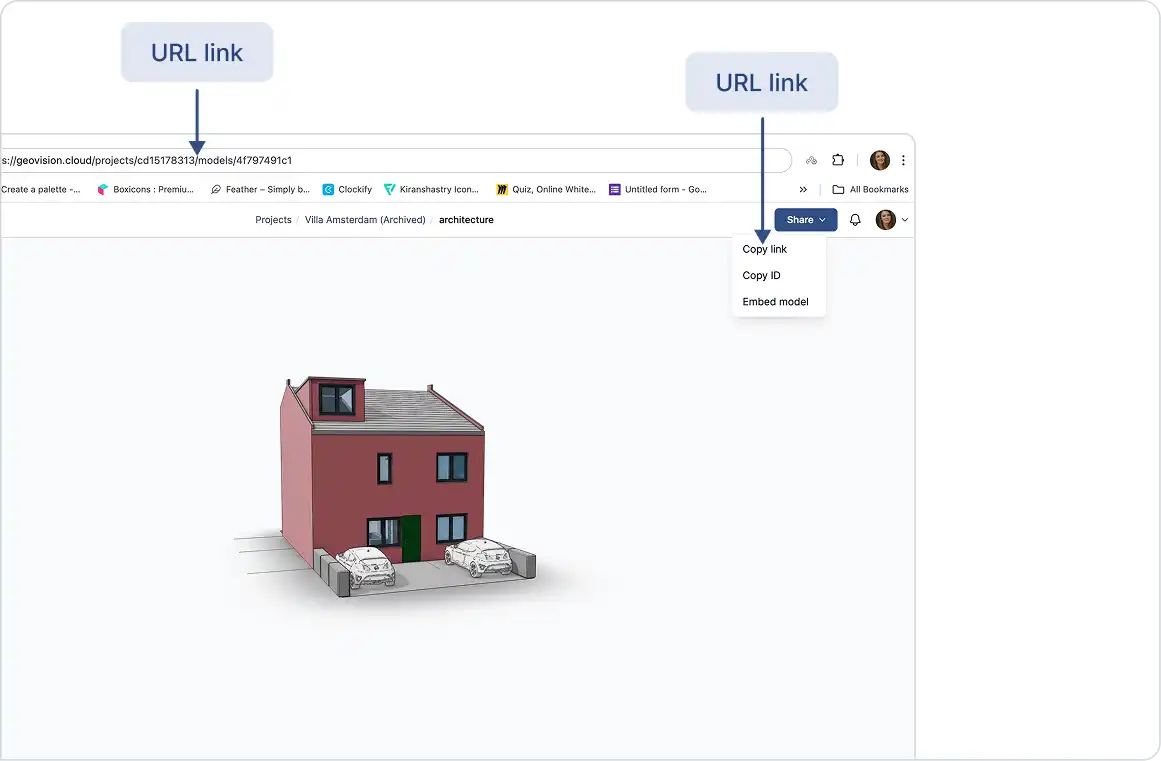
Loading a Model via URL:
You can load a model using a URL. In the project selection dialog, next to the search box, use the “Add model by URL” option and paste the model link there.